 EN
EN
 AR
AR
 BG
BG
 HR
HR
 CS
CS
 DA
DA
 NL
NL
 FI
FI
 FR
FR
 DE
DE
 EL
EL
 IT
IT
 JA
JA
 KO
KO
 NO
NO
 PL
PL
 PT
PT
 RO
RO
 RU
RU
 ES
ES
 SV
SV
 TL
TL
 ID
ID
 LT
LT
 SR
SR
 SK
SK
 UK
UK
 VI
VI
 HU
HU
 TH
TH
 TR
TR
 AF
AF
 MS
MS
 GA
GA
 BN
BN
 LO
LO
 LA
LA
 NE
NE
 MY
MY
 UZ
UZ
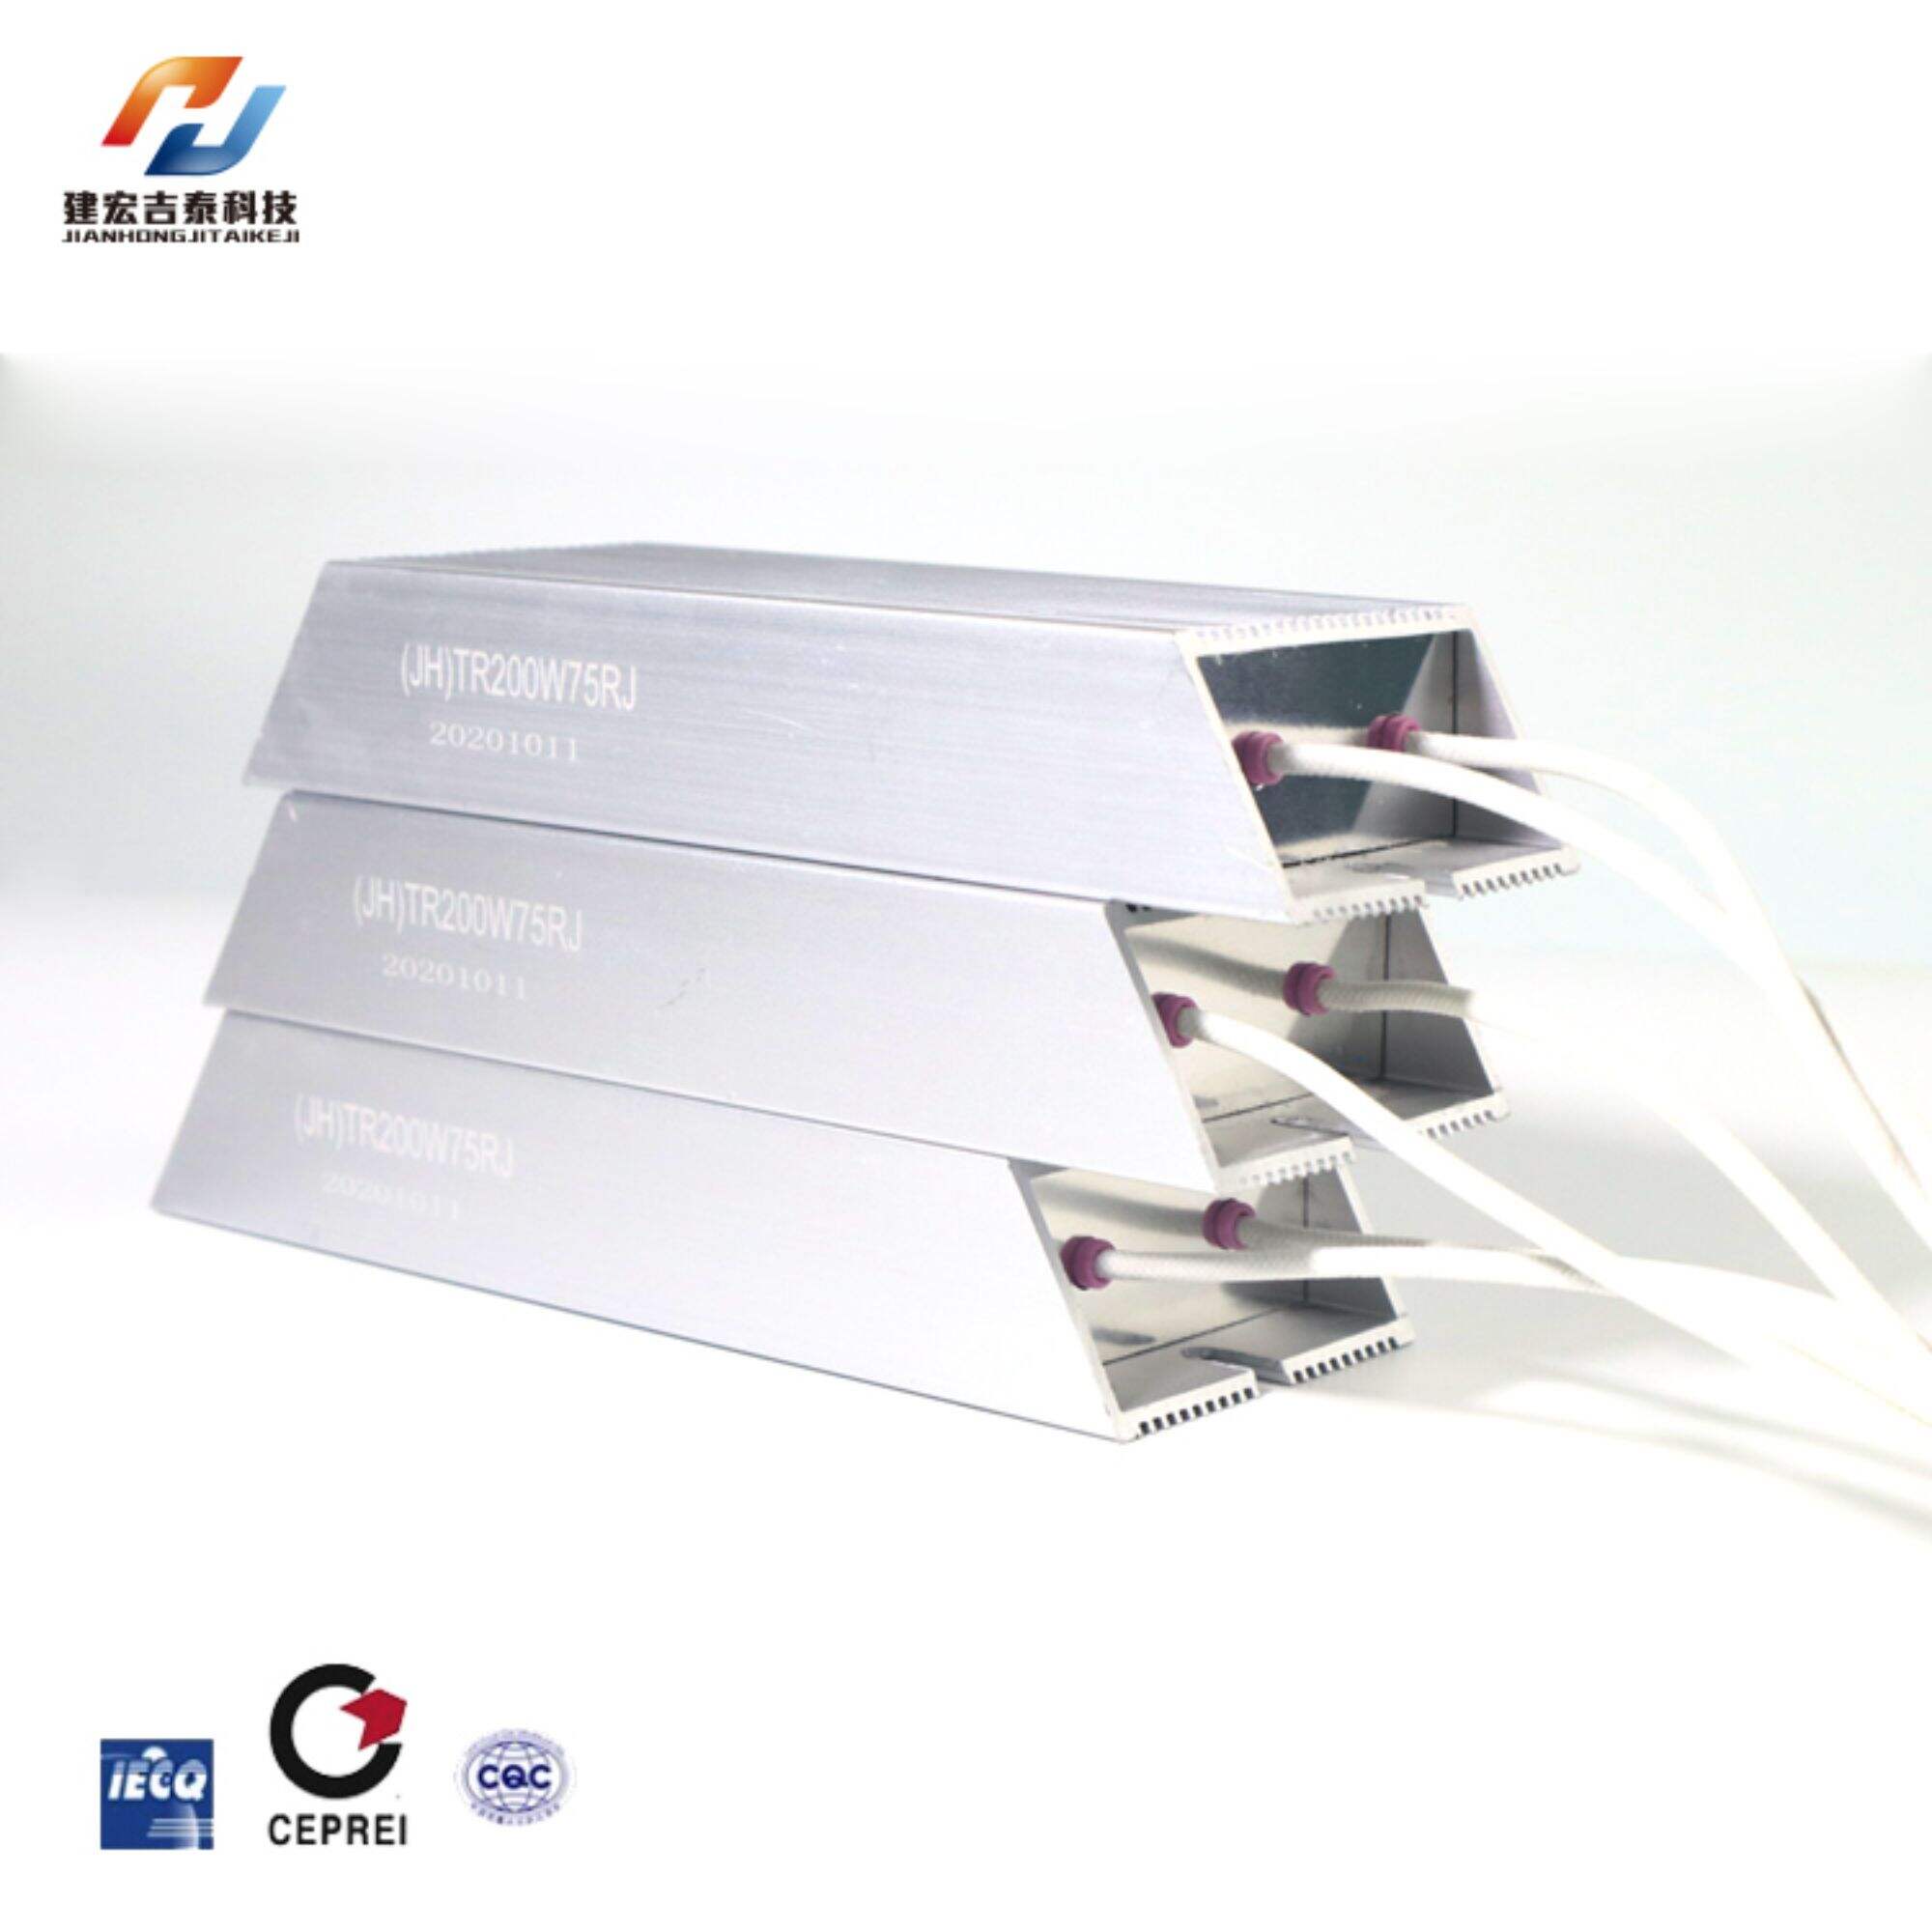
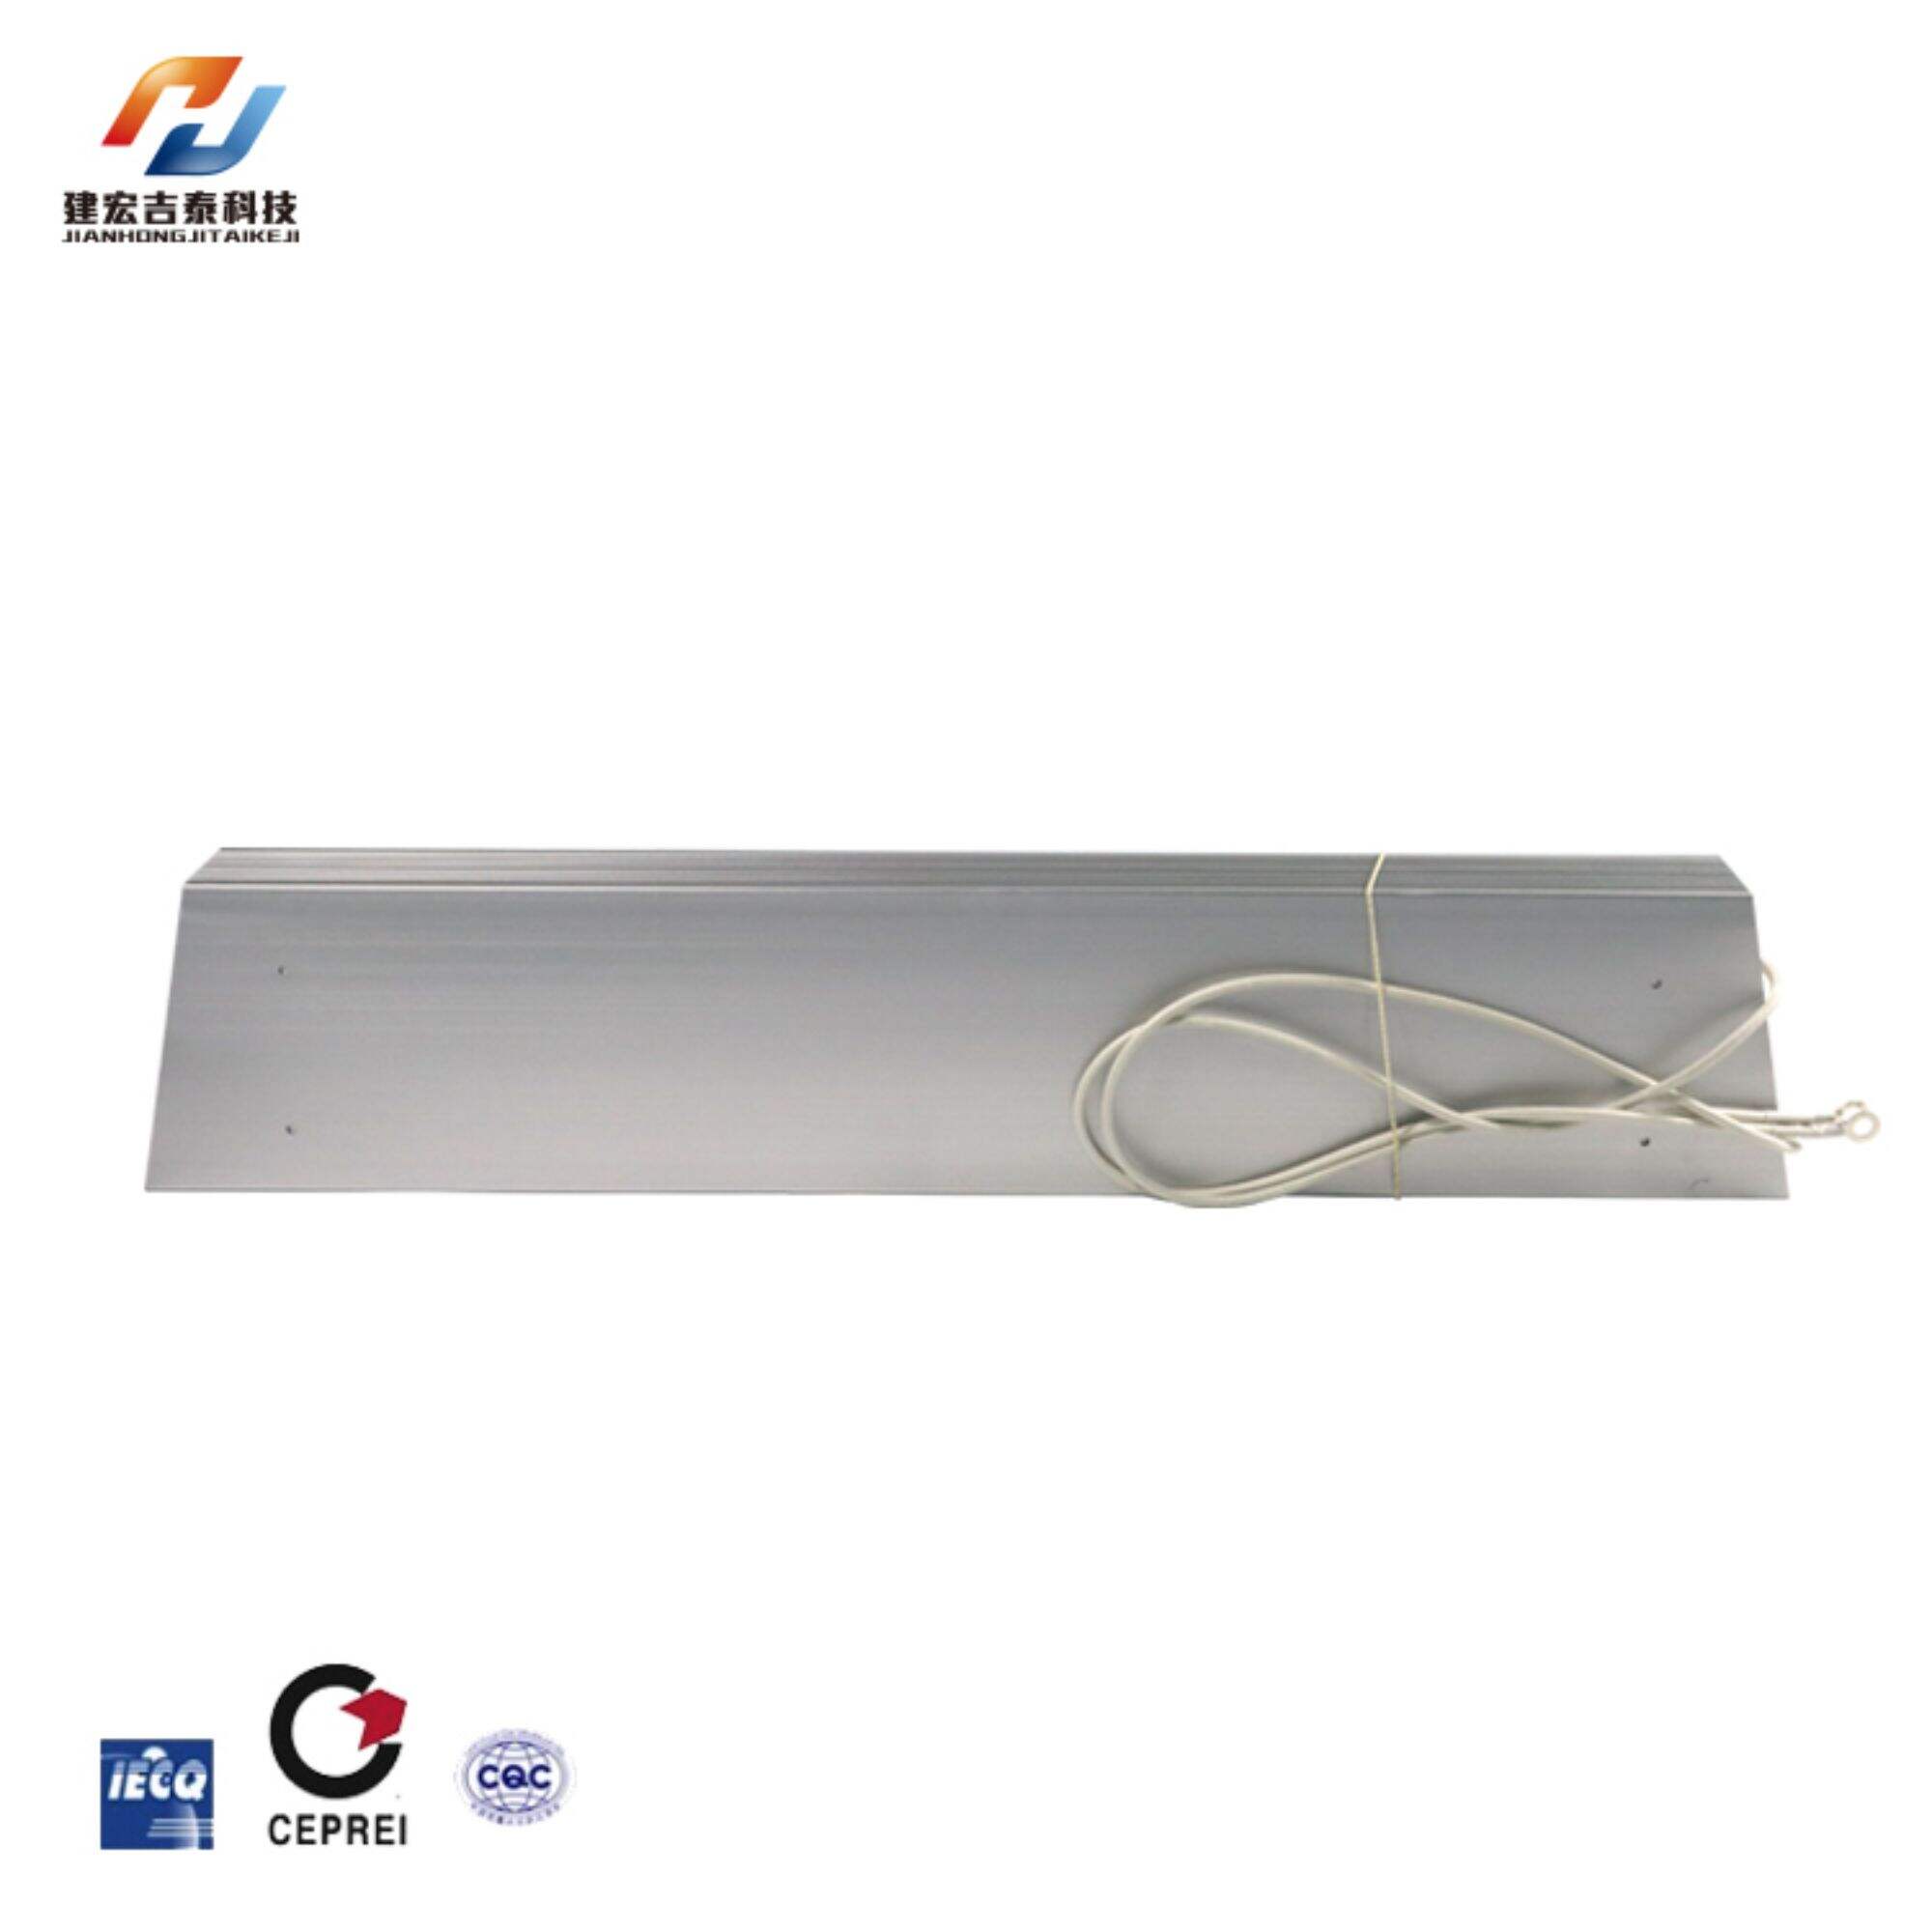
How To Install Aluminum Resistors In Electronic Circuits?
When it comes to making electronic circuits, the resistors are meant to regulate electrical current and define voltage levels.Aluminum resistors are among those made from various materials that provide strong and cost-efficient solutions for many applications.
Prepare the Workspace
Before commencing on any installation procedures, always have clean, well-lit and organized workspace. The essentials like soldering iron, wire cutters, tweezer or even a desoldering pump if you may need one should be in place. Always abide by safety measures when handling electronic tools and components.
Identification of the Resistor
Usually aluminum resistor is marked showing its level of resistance on its body. It is important to get the right resistor for your circuit based on its indicated value as specified. Also check out its power rating to ensure that it can dissipate power in your circuit without getting too hot.
Positioning
Decide where on the breadboard or printed circuit board (PCB) you want to place this resistor. Place it in such a way that it follows the line of the circuit design and any other elements involved in connecting them together. Thermal dissipation requires an exit space around the resistance.
Basically Inserting the Resistor
For those using PCBs, carefully fix in your resistor’s leads into their respective holes on board. If you are working with a breadboard insert them respectively into correct rows so they contact conductive tracks beneath these boards as well.
Soldering of Resistors- PCBs
The points at which leads intersect with pads on a board should have small amounts of solder applied whenever a resistor has been perfectly sited onto this PCB board. Solid connection between pins of his device and pads can be achieved through melting solder inside connected points using hot soldering iron such as Hakko 936 Led Soldering Iron but avoid overheating thereby destroying or modifying component characteristics hence become uncalibrated resistances away from necessary values.
Check Connections
Allow the PCB to cool down, then examine the solder joints for security and continuity. Installed aluminum resistors should have their resistance checked using a multimeter, which should match with its expected value. Look out for any cold solders or short circuits.
Fixing Problems and Finishing
If there are problems such as poor connections or wrong resistances during testing you can use desoldering pump or iron to remove excessive solder and repeat operation. Once everything is working fine, clean up any loose wires, make sure all components are in place properly, and finally test it one more time just to be sure that it works as intended.
Installing Aluminum Resistor in Electronic Circuit Calls for Being Prepared and Thorough as Well as A Step by Step Approach. When following these steps whether you’re working on a simple hobby project or putting together a complex PCB will ensure accurate installation of your resistors resulting in stable and reliable electronic circuitry. Always prioritize safety when handling any electric tools and components; therefore, always double check work before submission for better results.
Recommended Products


Hot News
-
What Are The Functions Of The Ac Load Box For Power Supply Detection And Maintenance
2024-01-11
-
The Use Characteristics And Methods Of The Load Bank Of The Generator Set
2024-01-11
-
The function of the load bank
2024-01-09
-
Explore The Types And Characteristics Of Resistors: Fixed And Variable Resistors
2024-01-09
-
How Resistors Work And Their Applications In Circuits
2024-01-09


